Coleman Royal Bakeries
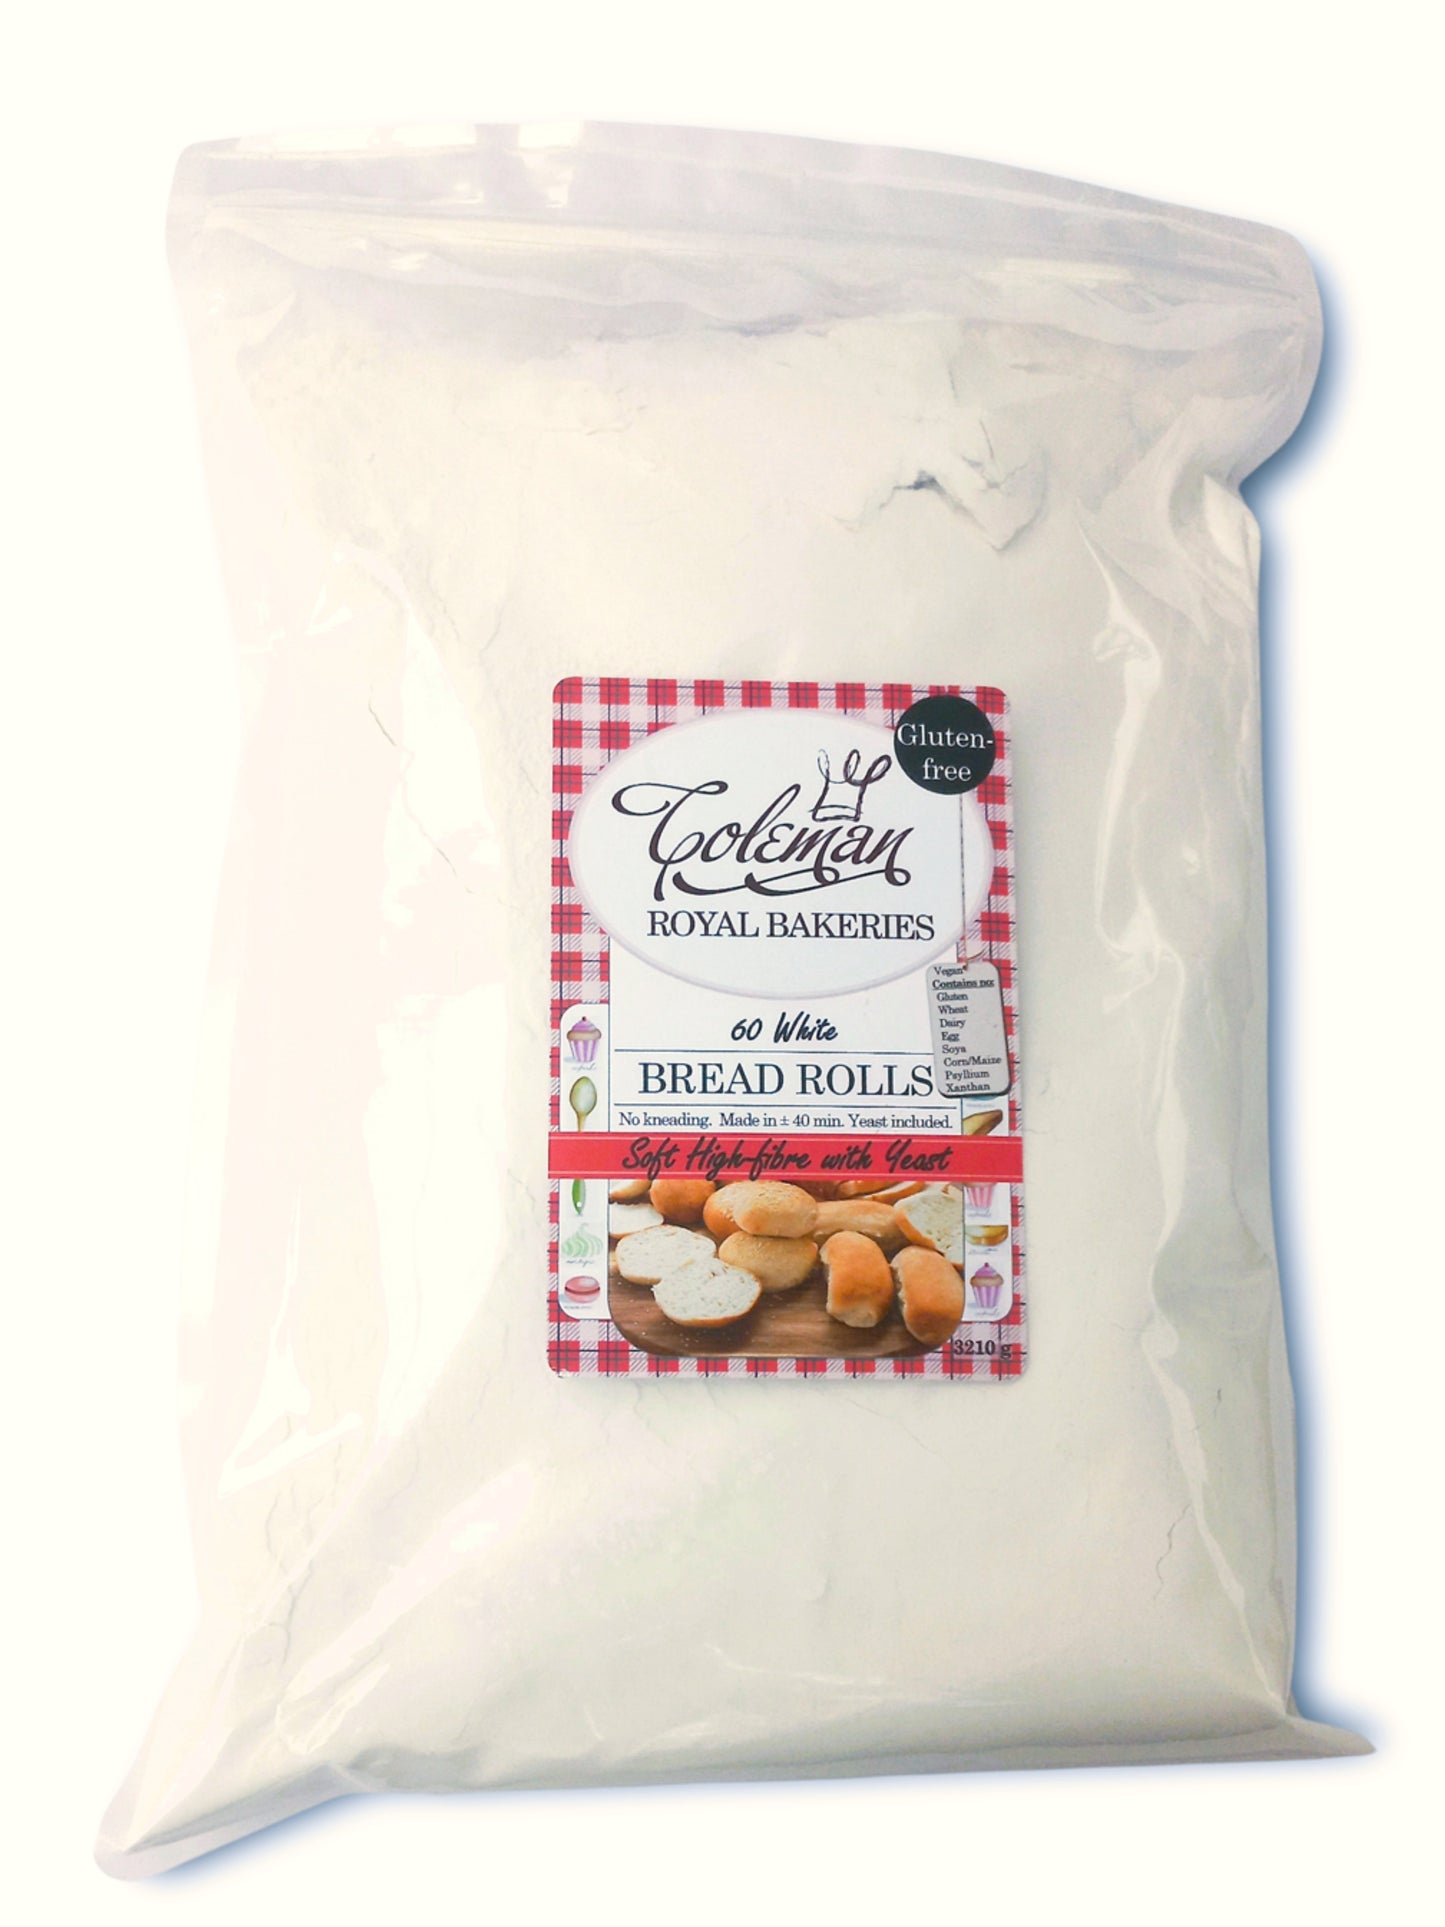
Bread Rolls - Makes 60 rolls (Gluten-free). 3210 g. Includes instant yeast sachets: 10 x 10 g and 10 x 7 g.
Bread Rolls - Makes 60 rolls (Gluten-free). 3210 g. Includes instant yeast sachets: 10 x 10 g and 10 x 7 g.
Couldn't load pickup availability
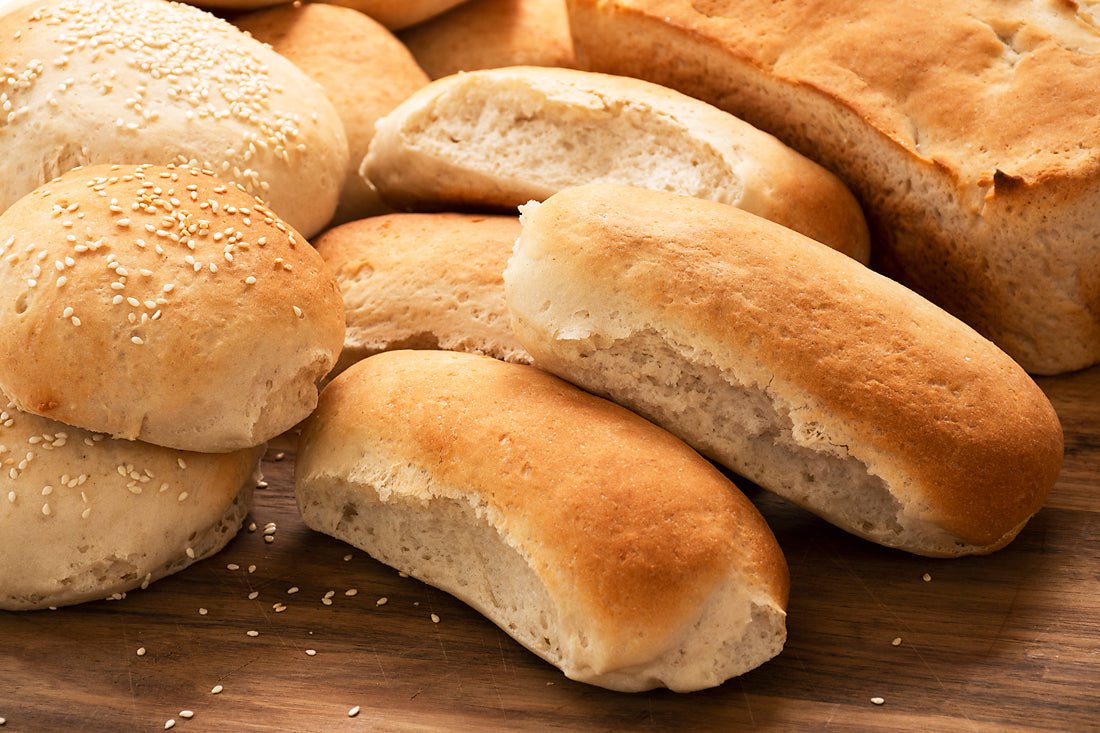
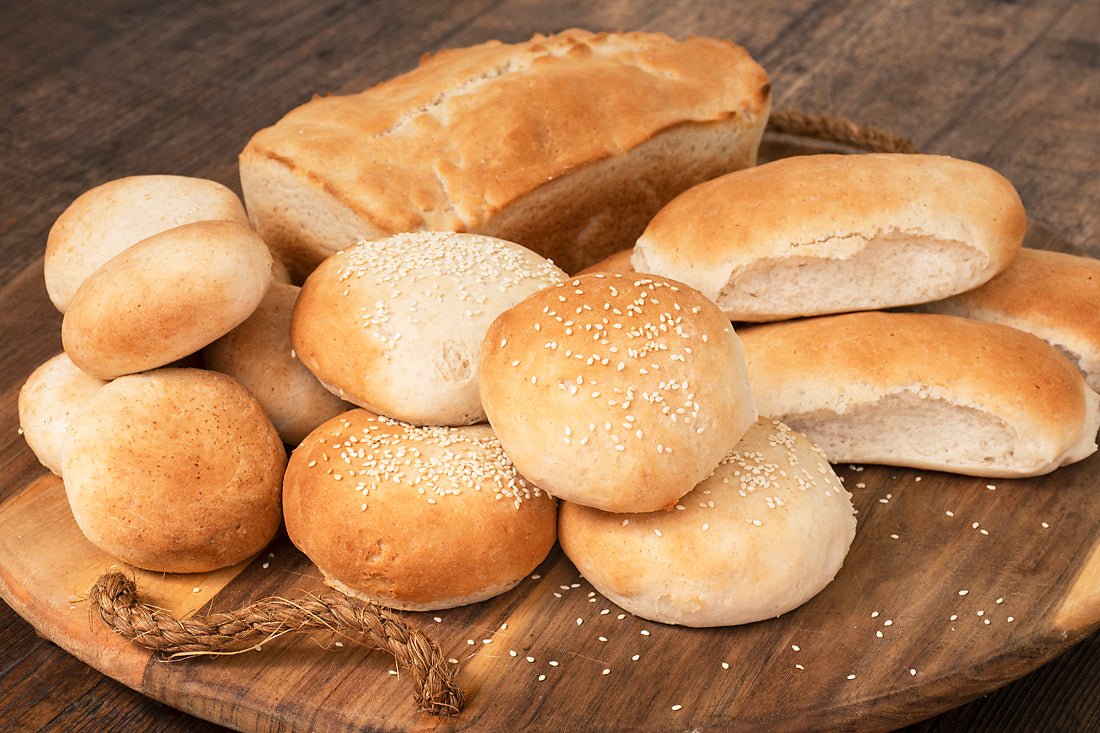
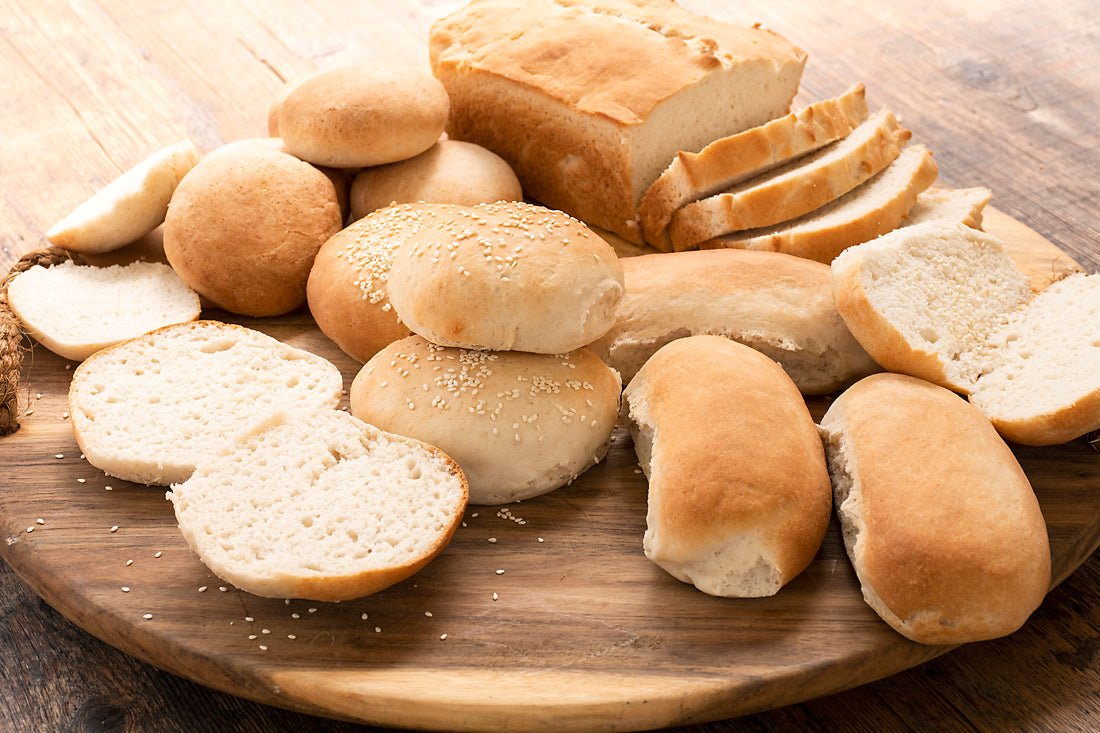
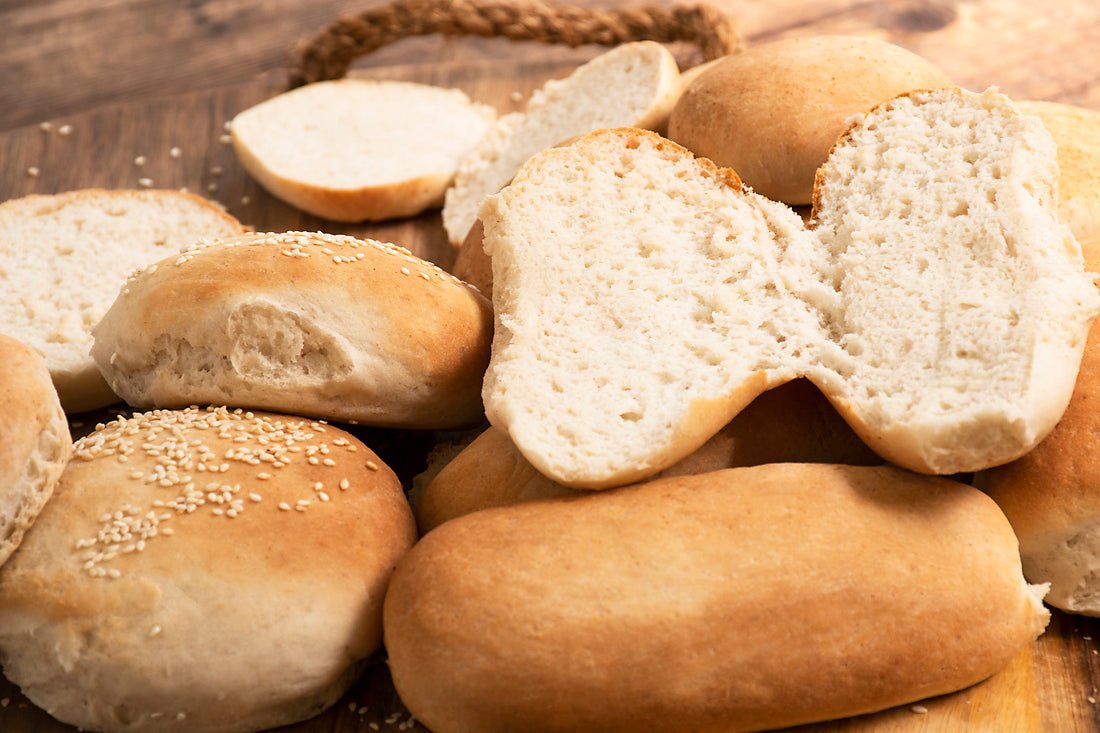
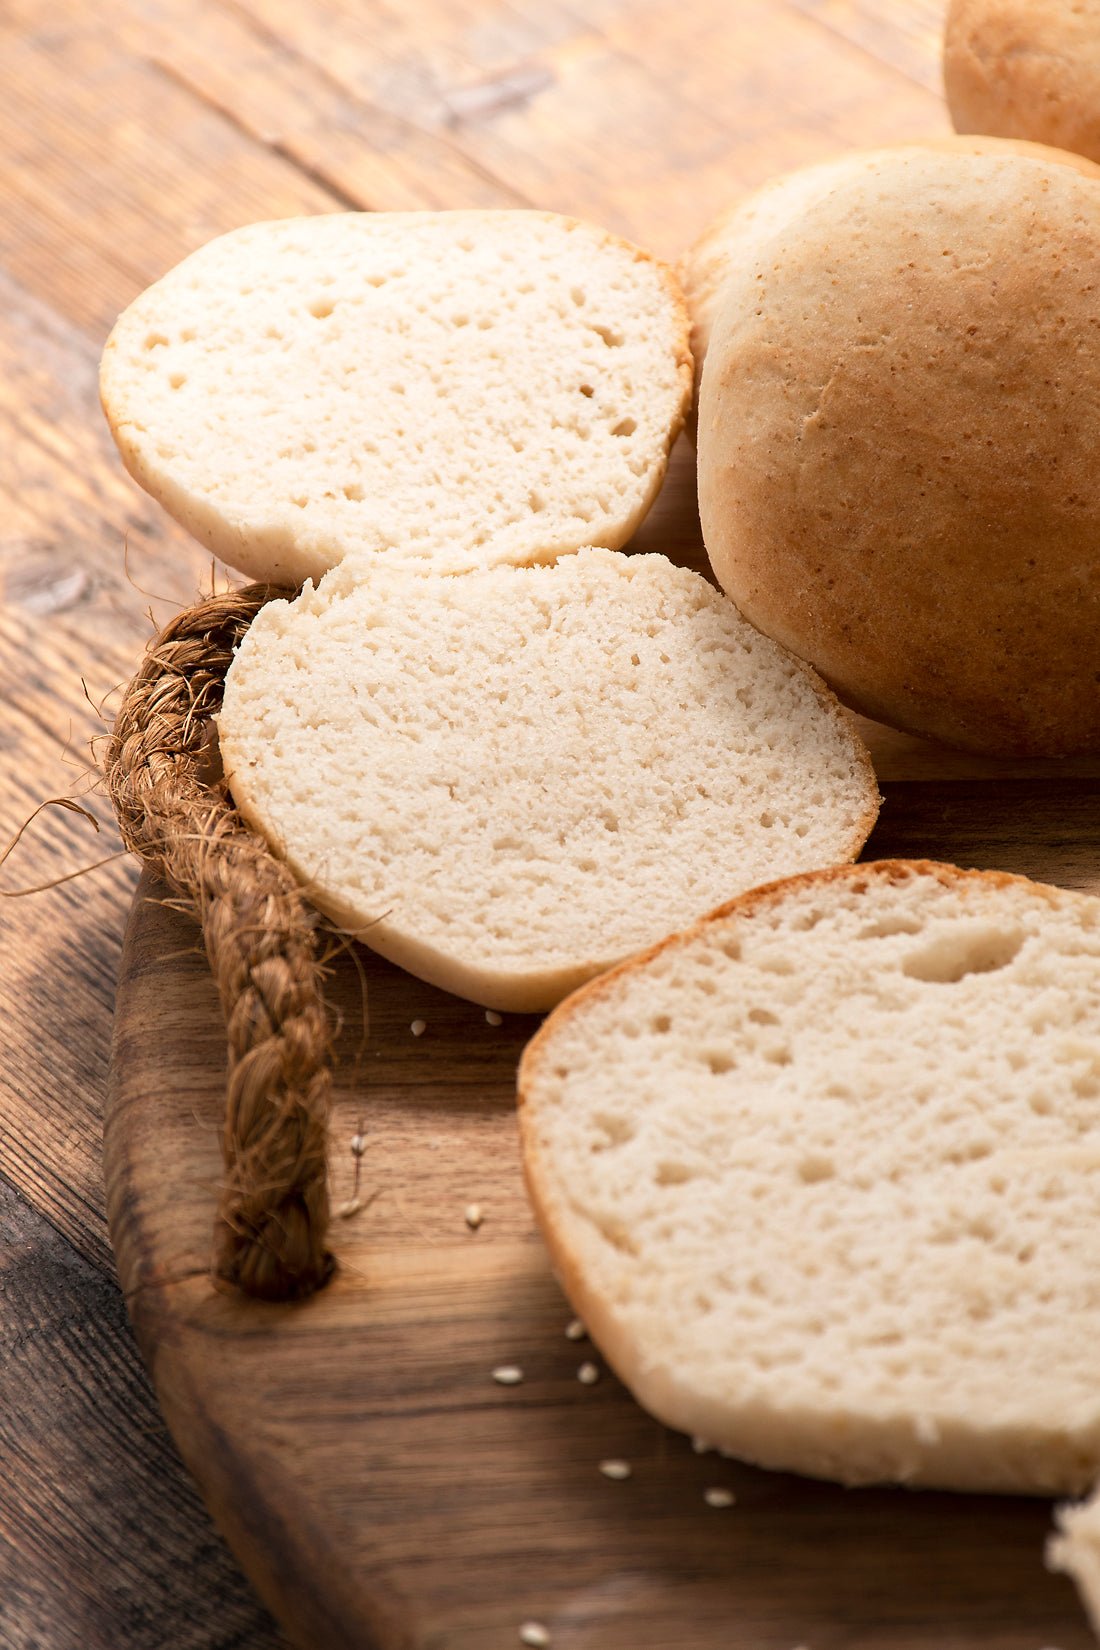
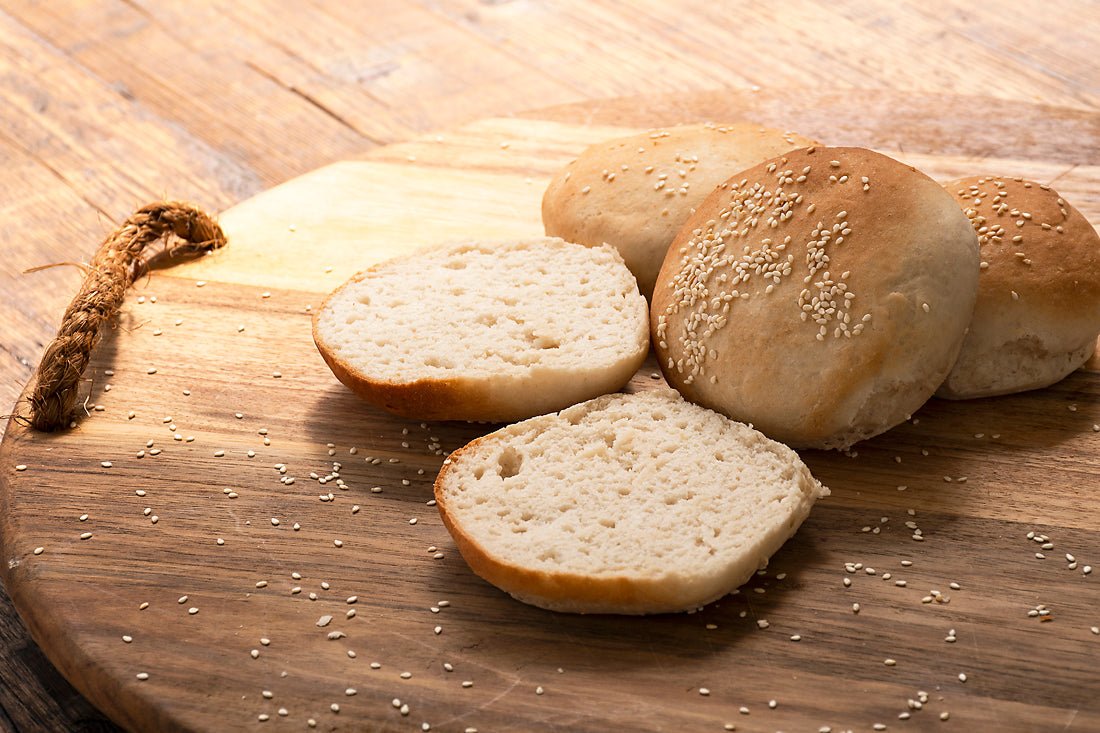
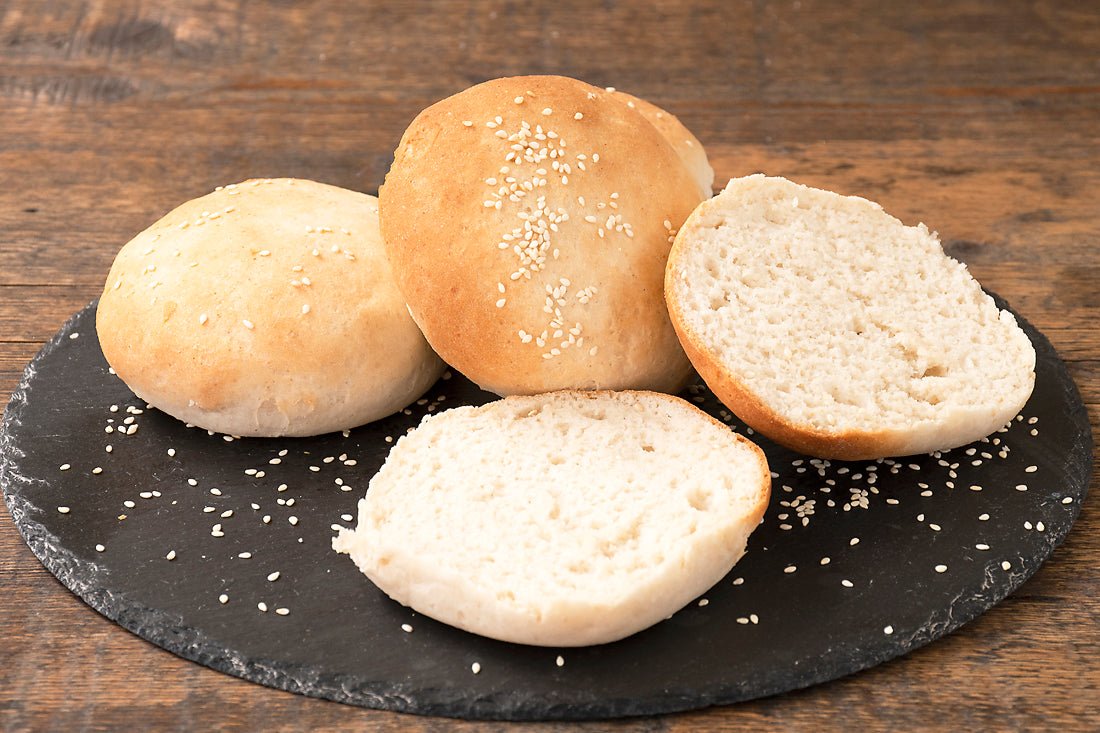
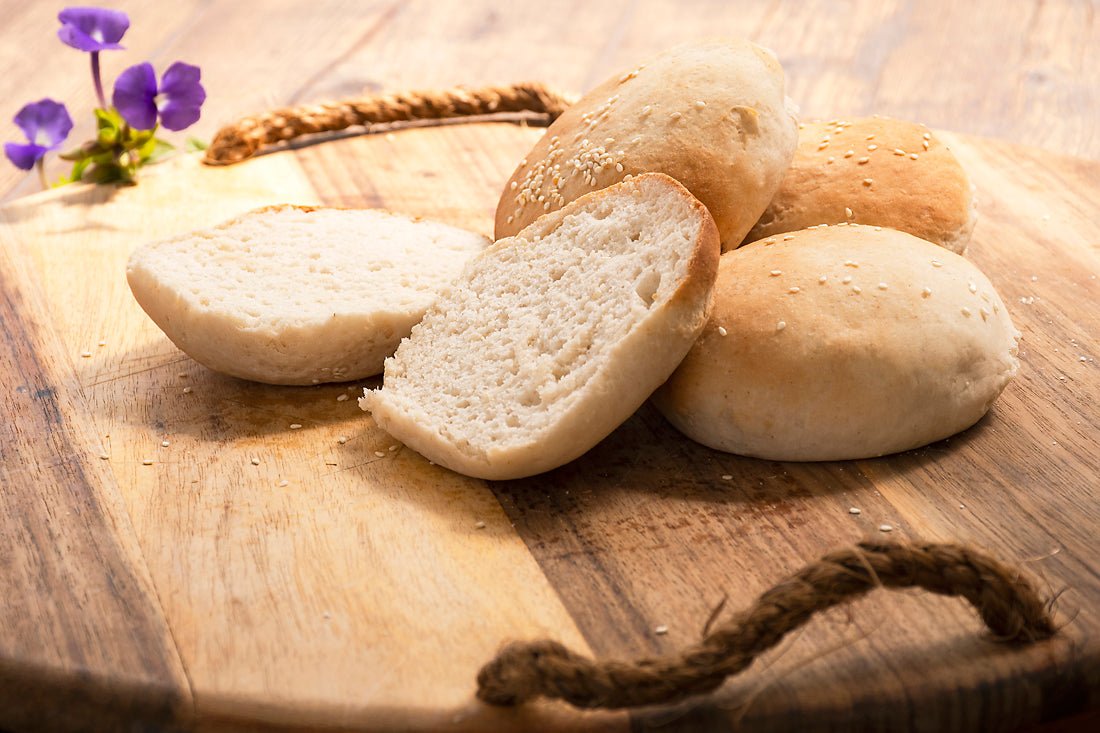
 Delicious home-made yeast bread rolls (gluten-free): soft, white and high fibre.
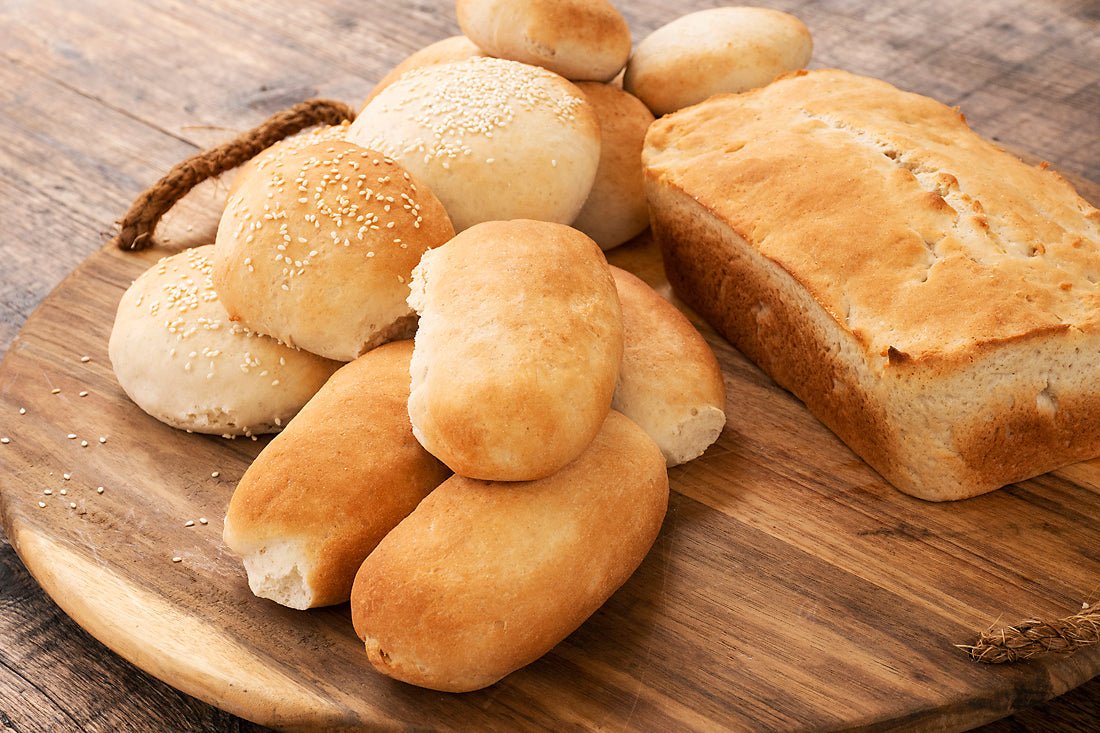
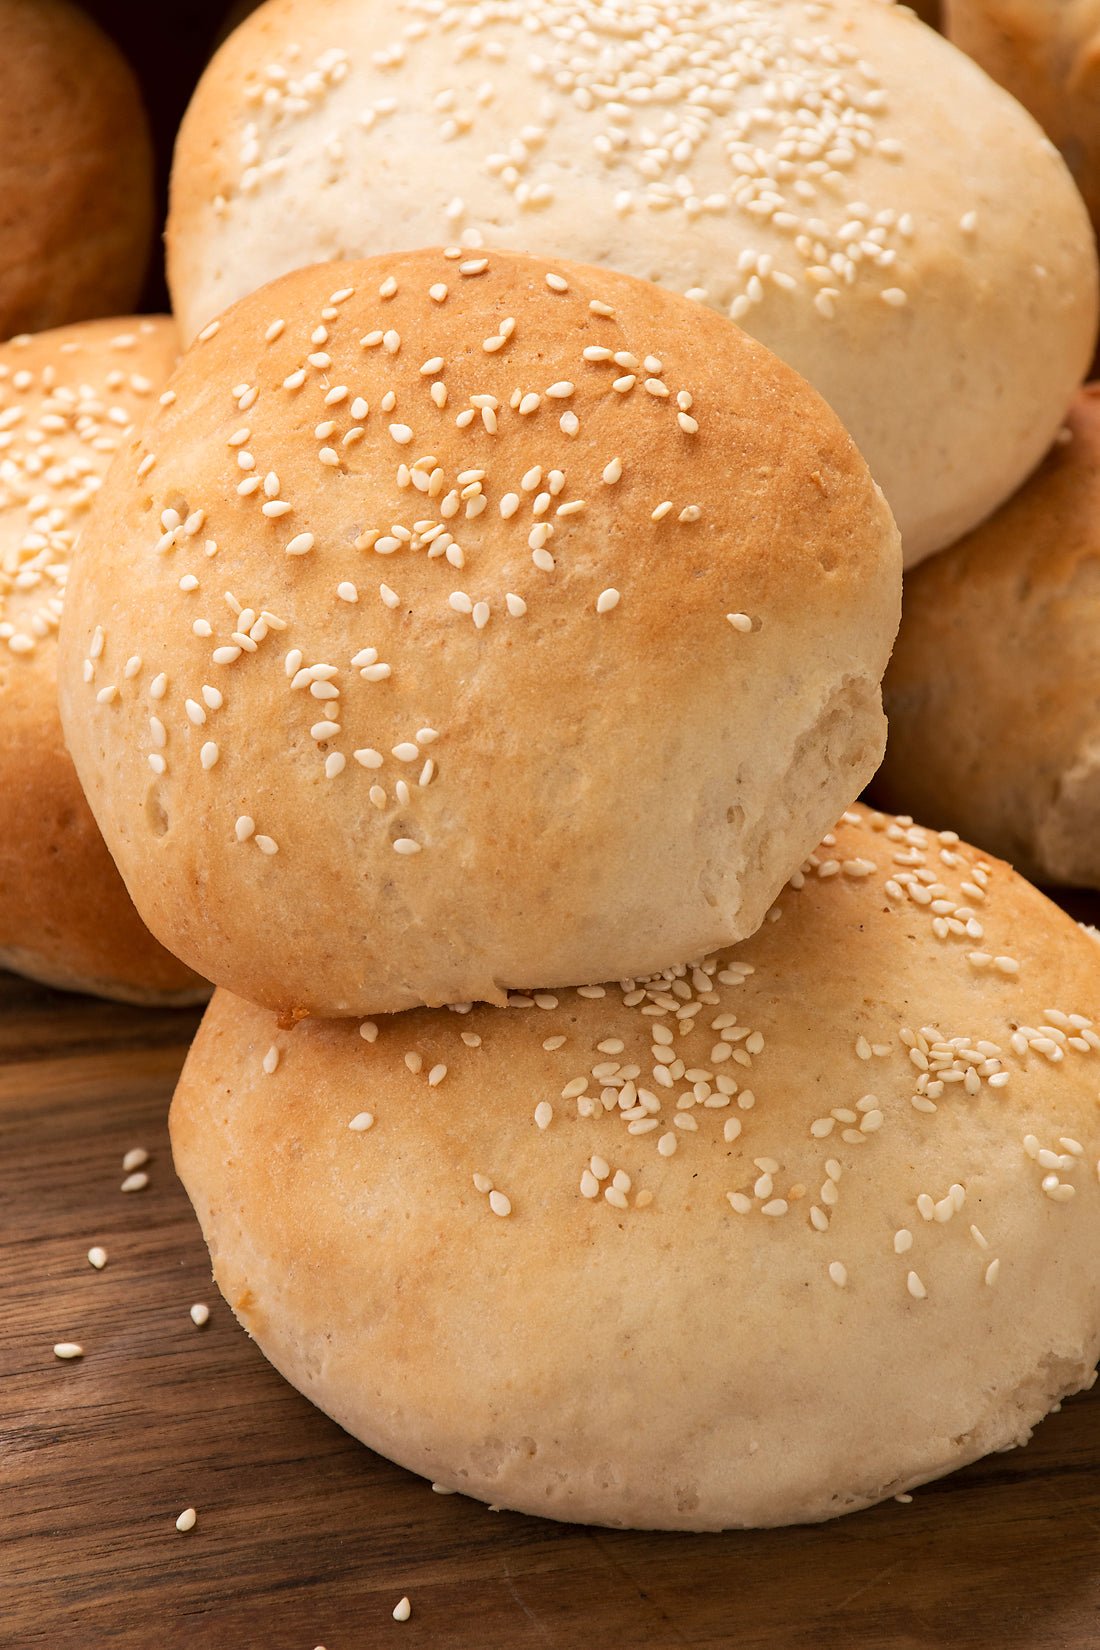
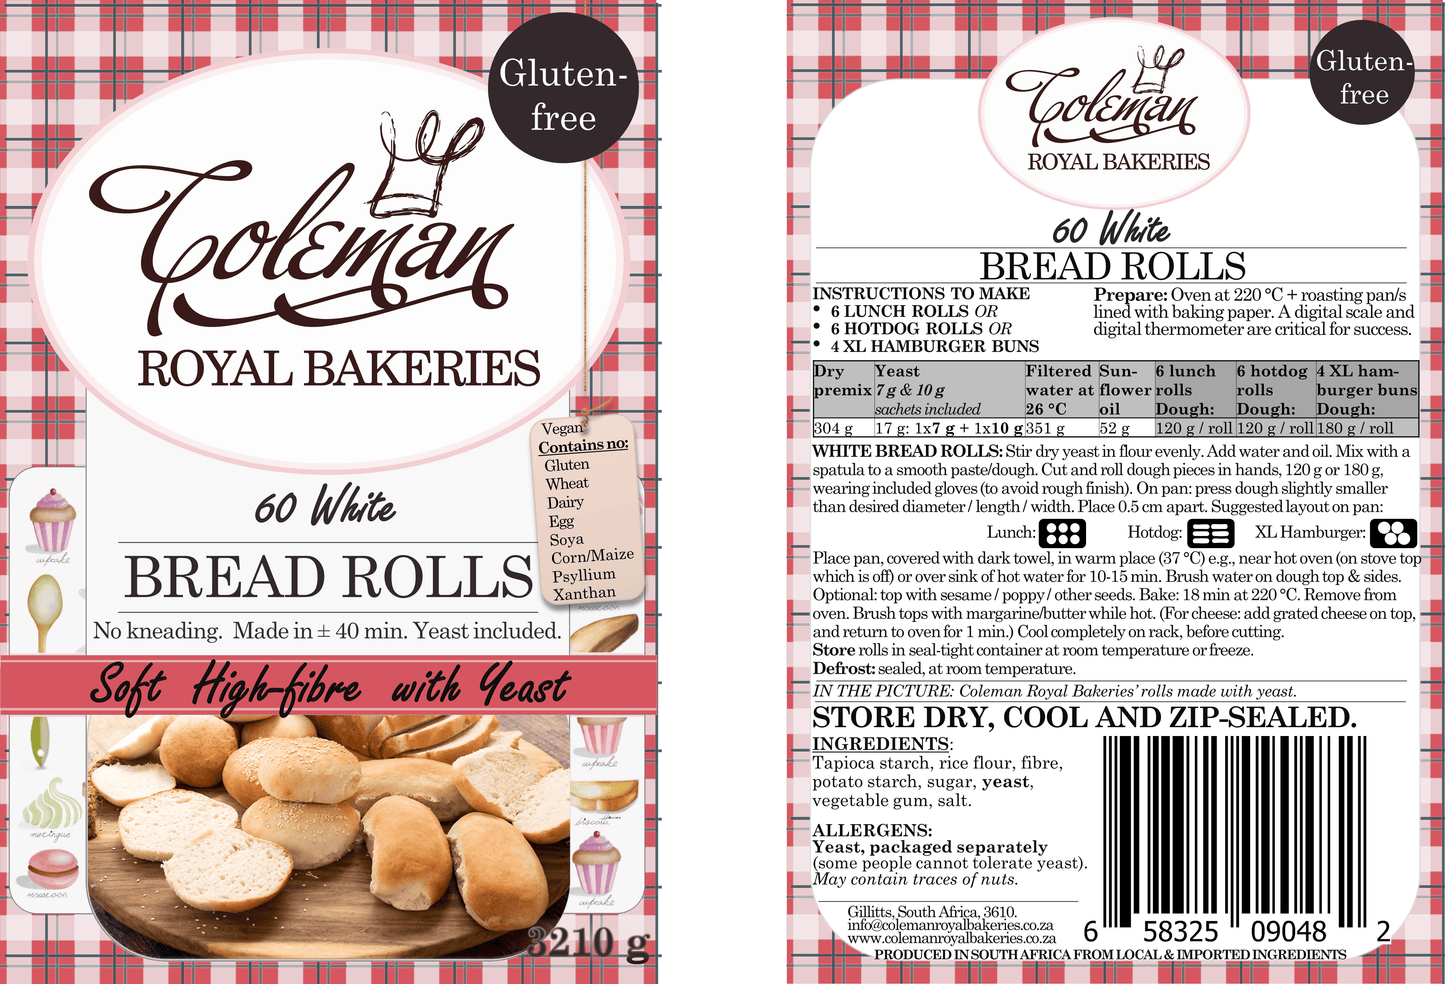
Coleman Royal Bakeries' 60 White Bread Rolls flour mix is suitable for you to make either 60 lunch rolls, 60 hotdog rolls or 40 extra-large hamburger buns that are allergy-friendly, gluten-free, vegan, soft and high fibre. Can be made in batches of 6 rolls. Recipe instructions are included. Made in approximately 40 min. No kneading. (Use the gloves included to form smooth rolls.) Add water and oil.
Tip: Cook close together for that lovely pull-apart edge!
A separate mix is available for making loaves of bread.
**SACHETS OF INSTANT YEAST AND ONE PAIR OF DISPOSABLE GLOVES TO FORM THE ROLLS ARE INCLUDED FOR YOUR CONVENIENCE. (Please wash and re-use the gloves for the 60 rolls, if making on separate occasions.)
Gluten-free (formulation tested and suitable for coeliacs), and free from dairy, soya, corn and egg. Vegan.
- Contains no xanthan, guar gum or psyllium husk.
Cellulose gum is used as it is "Generally Recognised as Safe" by the FDA.
- Contains no preservatives, colourants or flavourings.
INGREDIENTS:
Tapioca starch, rice flour, vegetable fibre, potato starch, sugar, vegetable gum (HPMC), salt.
ALLERGENS:
None. (Contains yeast sachets, which could be omitted if strictly necessary, and baking powder used.)
May contains traces of nuts.
Locally made in KZN, South Africa by Coleman Royal Bakeries.
Contents: 3210 g dry mix including yeast.
Gluten-free testing
Gluten-free testing
Formulations laboratory-tested by FACTSSA. Suitable for Coeliacs.
Share
My husband, who has celiac and DH, really liked these. I had to bake them longer at a lower temp though as when following the instructions, mine were still doughy and raw in the middle.
All those battling with Gluten-free rolls that are hard, tasteless and heavy I can with absolute certainty say throw away your recepies and flour and get the Coleman Royal Bakeries rolls flour and recepies. They are better than the store bought gluten rolls and you can make them to suit you. You have to try them to truly understand.
Delicious, best-tasting rolls since having gone gluten free (13 years)!
The flour works well and was a success after my first attempt (was worried as this was my first baking with gluten free and yeast at same time). Family liked it. Just follow the instructions to the last detail!
Yeast-based gluten free rolls are *hard* to make. It's easy to make them edible, it's hard to make them roll-like. These probably have the best texture of all the recipes I've tried (and I've tried dozens over the past 4 years or so). Under hydrated and they don't rise and are rock hard, over hydrated and they turn into sloppy flatbreads. So a lot of slack (heh) to be had here.
These are a great, proper roll texture. This is the most success I've had with a bread recipe that doesn't include eggs, milk or xantham gum. It gives a much more classic roll texture that isn't as heavy as a 'milk bread' type roll. The first batch were flatter than I'd like (which I'll explain below) but otherwise 100% my daughter loved them and will probably have one in her lunchbox tomorrow.
I made a batch of these (6 lunch rolls) and followed the instructions to the gram. I live in a high-humidity area and I definitely noticed it. The dough was quite sticky and sloppy, even at the ratio in the recipe. I don't know if this was the humidity or supposed to be like that (probably both?). Especially just after being mixed.
I started attempting to shape the dough immediately after being mixed, and it was quite sticky and difficult to work with, especially with the gloves. It didn't hold a roll shape (flattened out after a minute). I'm sure this was also caused by the humidity.
I found that leaving the dough to sit and rest/absorb caused it to become marginally easier to work with. Oiling my hands/the gloves helped a lot. It was a bit much to weigh the dough, purely because this was another sticky surface to manage and clean. I switched between using my hands and the gloves to see which was better. I found the gloves to be convenient because I could take them (and the mess) off my hand if I needed a clean hand for a moment. I would probably only use one glove, I didn't really end up needing two, and that would save another one for down the line.
I settled on using a scoop to keep the rolls a consistent size. Oiling my hands thoroughly helped to not cause the dough to peak from where the dough pulled off from my hands. I am not a professional baker, just a at-home one, so I'm sure my technique is probably also lacking here.
I also used a cookie sheet for this, and the rolls spread quite a lot. They turned out pretty flat and not very tall. Next time I will probably use a smaller pan with higher sides, so that there isn't as much space for the dough to spread to.
Next time I may use slightly less water to compensate for the humidity, leave the dough for a minute before shaping, use a scoop (maybe weigh in the scoop?), oil my hands/the glove and use a smaller, higher sided container.
Again, this is a difficult thing to get right at the best of times, so I'm giving this product 5 stars anyway because it did produce me proper texture gluten free rolls.
Hi Stacey,
Thanks for taking the time, and for the five stars. I love your thorough review. The response below is mostly just tips.
To make easy measurement: place the bowl of dough on the scale. Scoop out a portion of dough (a firm spatula from a baking shop helps make light work of the job). The scale will read a negative number (at least, most scales do), e.g. -120 g. Either zero/tare the scale (the side of the pinky finger is often clean, or else a knuckle!) and repeat for each roll... or if your maths good and don't want to touch the scale with sticky gloves/hands, count in multiples (e.g. -120 g , -240 g -360 g).
For both mixing and scooping: a flat firm silicon spatula from a baking shop helps (and minimises washing up/labour).
We wash the gloves with warm soapy water (rinse in clean water) and hang them up with a peg on the drying rack, at home, to re-use.
You are right: weather does play a role (temperature and humidity), and this applies to ordinary gluten bread baking, as well. In this case, allowing the vegetable gum in the mix to absorb water for a short time increases the dough stiffness, if is very sticky. (It is a slightly sticky mixture, which is why the gloves help with smoothness and managing stickiness.) The vegetable gum absorbs water better at slightly cooler temperatures, rather than warm temperatures. 26 °C works well for both the dough and yeast.
Another tip, but it doesn't sound like you ran into this: if the rolls prove for too long once they are shaped, the yeast make big gas bubbles (more holes), and also breaks down the flour, making it sticky and flatter. 10 minutes works well for proving (resting after shaping so the yeast can make them rise).
We use a roasting pan at home. This has more depth, allowing a dark towel to be placed over the rolls while they are proving. Placing the roasting pan (with towel covering the shaped rolls) over a sink that's fairly full of moderately hot water (not touching the water) helps with getting a decent quick rise.
All in all: well done! I love it when people succeed with gluten-free baking (especially where there are other allergies adding to the baking challenges). I hope your daughter enjoys her lunch. (I'm glad she liked them!)
Warm regards,
Melanie
